大家好!我是码银,代码的码,银子的银🥰
欢迎关注🥰:
CSDN:码银
公众号:码银学编程
导语
pygame是一个跨平台Python库(pygame news),专门用来开发游戏。pygame主要为开发、设计2D电子游戏而生,提供图像模块(image)、声音模块(mixer)、输入/输出(鼠标、键盘、显示屏)模块等。使用pygame,理论上可以开发设计市面上所有的2D类型游戏。
正文
1、绘制线条
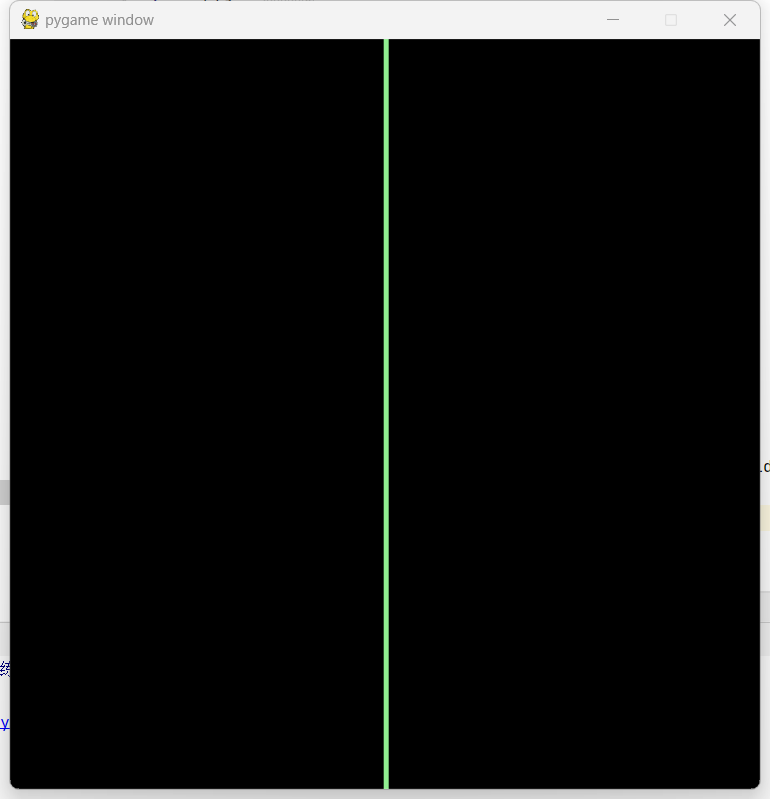
我们可以使用 pygame.draw.line()函数来绘制直线。
pygame.draw.line(screen,线段的颜色,起点坐标,终点坐标,线宽)
pygame.draw.line(screen ,lightgreen, (300,0), (300,600), linewidth)
import pygame #导包
from pygame.locals import*
import sys
black=0,0,0
lightgreen=144,238,144
pygame.init() #初始化
screen = pygame.display.set_mode(size=(600,600),flags=0)
#绘制一个600*600的框框
while True:
    for event in pygame.event.get():
        if event.type in (QUIT,KEYDOWN):
            sys.exit()#python的退出程序
    linewidth=4 #“线”的粗细
    pygame.draw.line(screen,lightgreen,(300,0),(300,600),linewidth)
    pygame.display.update()  # 刷新展示

2、绘制网格
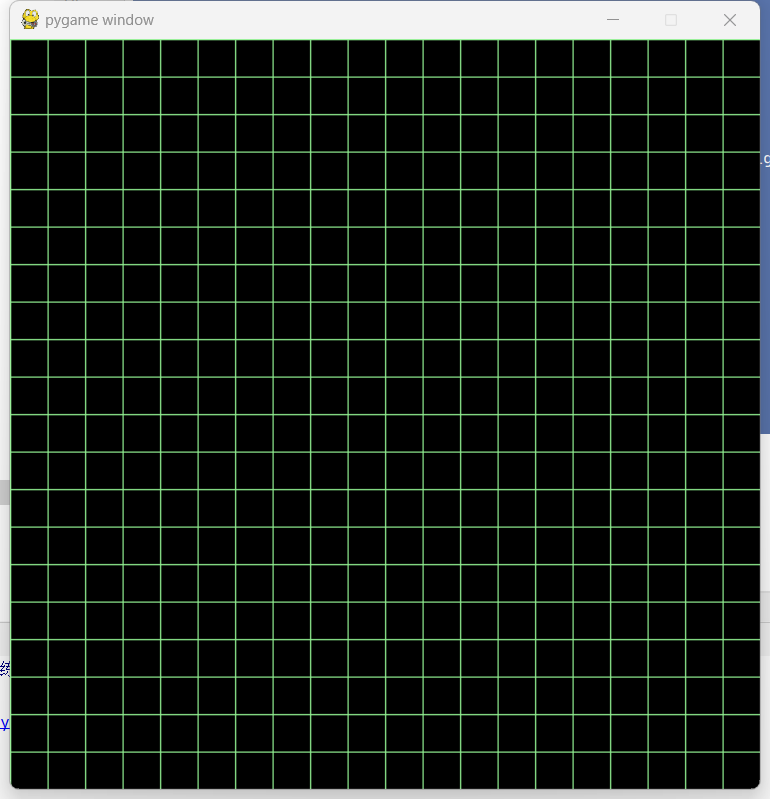
通过循环绘制一个网格大小为三十像素的网络
import pygame #导包
from pygame.locals import*
import sys
black=0,0,0
lightgreen=144,238,144
screen_width=600
screen_height=600
pygame.init() #初始化
screen = pygame.display.set_mode(size=(screen_width,screen_height),flags=0)
#绘制一个600*600的框框
# 设置网格大小
grid_size = 30  # 每个网格的大小为30个像素
# 绘制网格
for i in range(0, screen_width, grid_size):
    pygame.draw.line(screen, lightgreen, (i, 0), (i, screen_height))
for i in range(0, screen_height, grid_size):
    pygame.draw.line(screen, lightgreen, (0, i), (screen_width, i))
while True:
    for event in pygame.event.get():
        if event.type in (QUIT,KEYDOWN):
            sys.exit()#python的退出程序
    linewidth=4
    pygame.display.update()  # 刷新展示

3、绘制圆
pygame.draw.circle(screen,lightgreen,position,radius,linewidth)
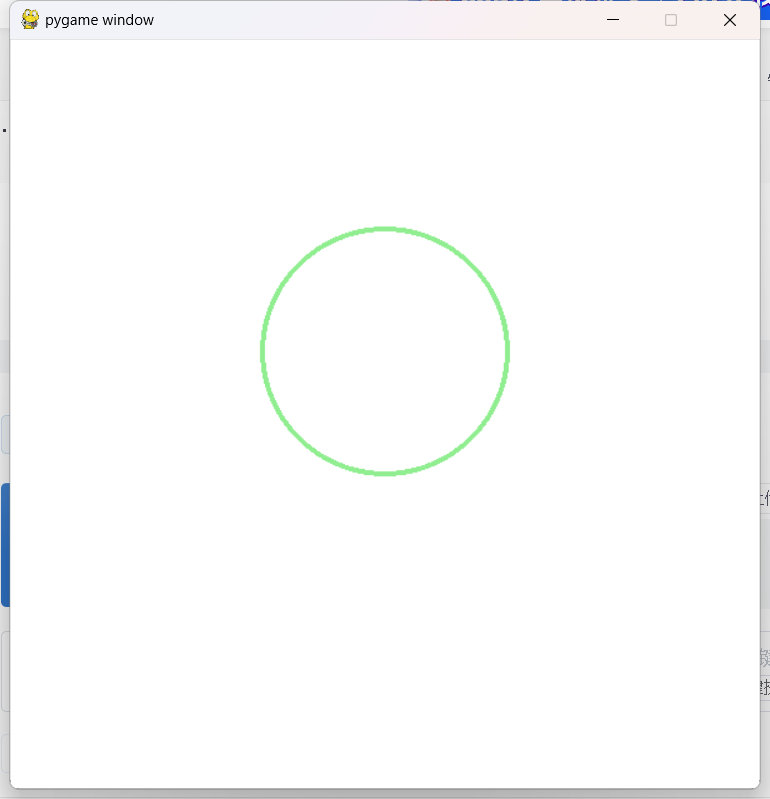
通过pygame.draw.circle()可以画圆
- screen代表屏幕
- lightgreen代表着圆的颜色
- position代表着圆心所在的位置
- radius代表着圆的半径
- linewidth代表着线的粗细
import pygame #导包
from pygame.locals import*
import sys
black=0,0,0
lightgreen=144,238,144
screen_width=600
screen_height=600
pygame.init() #初始化
screen = pygame.display.set_mode(size=(screen_width,screen_height),flags=0)
#绘制一个600*600的框框
# 主循环
while True:
    for event in pygame.event.get():
        if event.type == pygame.QUIT:
            pygame.quit()
            sys.exit()
    color = 255,255,255
    position = 300,250
    radius = 100
    width = 10
    linewidth=4
    screen.fill(color)
    pygame.draw.circle(screen,lightgreen,position,radius,linewidth)
    pygame.display.update()  # 刷新展示
4、绘制矩形
pygame.draw.rect() 是pygame库中的一个函数,用于在给定的屏幕上绘制一个矩形。
函数的参数解释如下:
- screen: 这是你要在其上绘制矩形的pygame Surface 对象。
- lightgreen: 这是矩形的颜色。它是一个包含RGB值的元组,例如 (144, 238, 144)。
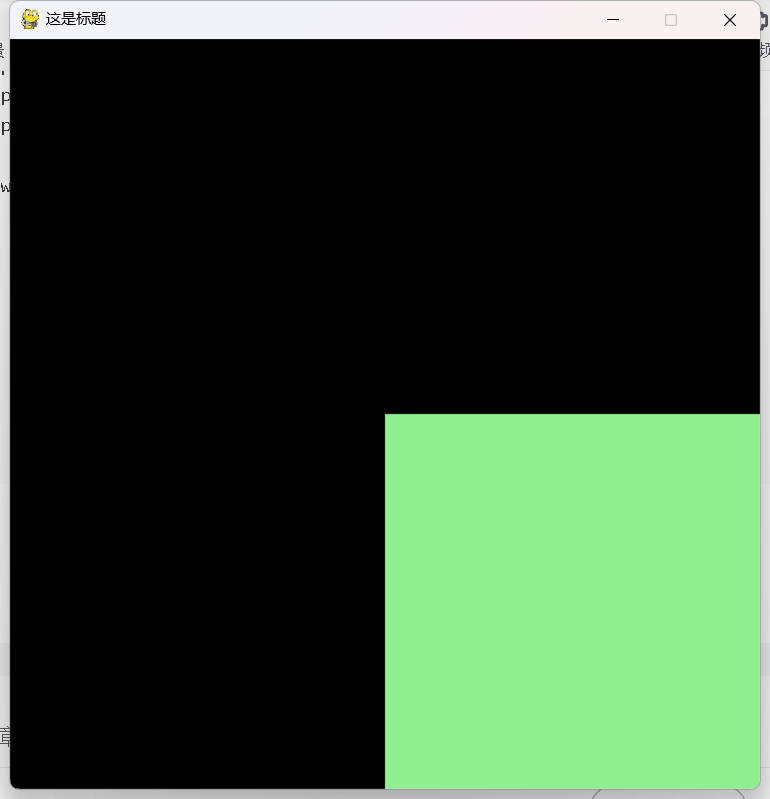
- pos: 这是矩形左上角的坐标 + 以左上标点为原点的右下角坐标,下面给出了具体例子。
- width: 这是矩形的宽度。这是一个整数。
import pygame #导包
from pygame.locals import*
import sys
screen_width=600
screen_height=600
pygame.init() #初始化
screen = pygame.display.set_mode(size=(screen_width,screen_height))
pygame.display.set_caption("这是标题")
pos_x = 300
pos_y =300
while True:
    for event in pygame.event.get():
        if event.type == pygame.QUIT:
            pygame.quit()
            sys.exit()
    lightgreen=144,238,144
    width = 0
    pos = pos_x, pos_y, 300, 300
    pygame.draw.rect(screen, lightgreen, pos, width)#300*300的矩形
    pygame.display.update()
绘制右下角的矩形区域:

5、绘制一个会动的矩形
设置屏幕的宽度和高度为600x600像素。 定义矩形的横向和纵向移动速度为0.14像素/帧。 每次循环将背景填充为黑色。 根据速度更新矩形的位置。 当矩形超出屏幕边界时,改变其速度的方向,使其反向移动。 使用pygame.draw.rect()方法绘制矩形,设置颜色为黄色,宽度为0(实心矩形)。
import pygame #导包
from pygame.locals import*
import sys
screen_width=600
screen_height=600
pygame.init() #初始化
screen = pygame.display.set_mode(size=(screen_width,screen_height))
pygame.display.set_caption("这是标题")
pos_x = 300
pos_y =300
vel_x = 0.14
vel_y = 0.1#粗略滴可以看作矩形的移动速度
while True:
    for event in pygame.event.get():
        if event.type == pygame.QUIT:
            pygame.quit()
            sys.exit()
    screen.fill((0,0,0))#每次循环都要将背景置为黑色
    pos_x += vel_x
    pos_y += vel_y
    #当矩形超过屏幕范围后返回
    if pos_x > 500 or pos_x < 0:
        vel_x = -vel_x
    if pos_y > 500 or pos_y < 0:
        vel_y = -vel_y
#绘制矩形
    color = 255, 255, 1
    width = 0
    pos = pos_x,pos_y, 100, 100
    pygame.draw.rect(screen,color,pos,width)
    pygame.display.update()
test2.5
6、还有哪些常用的绘制图形方法?
Pygame 提供了多种绘制图形的方法,这些方法主要用于在 Surface 对象上绘制基本的几何形状。以下是一些常用的 Pygame 绘制图形的方法:
-
pygame.draw.polygon(): 用于绘制多边形。你需要提供一个点的列表来定义多边形的顶点,以及多边形的颜色。
-
pygame.draw.ellipse(): 用于绘制椭圆。你需要指定一个矩形区域,椭圆将在这个区域内绘制,同时还需要指定椭圆的颜色。
-
pygame.draw.arc(): 用于绘制圆弧。你需要指定一个矩形区域,圆弧将在这个区域内绘制,同时还需要指定圆弧的起始和结束角度、颜色。
-
pygame.draw.lines(): 用于绘制一系列相连的线段,可以创建开放或闭合的多边形。你需要提供一个点的列表来定义线段的顶点,以及线段的颜色和宽度。
-
pygame.draw.aaline() 和 pygame.draw.aalines(): 用于绘制抗锯齿线段,可以平滑线段的边缘。这两个方法只能绘制一个像素宽的线段,不支持设置线宽。
小结
在本篇文章中,主要介绍了如何绘制一条线、圆形、矩形、以及简单地实现了将矩形“动起来”,每个例子都有其对应的完整代码,可以直接复制使用。
-
猜你喜欢
网友评论
- 搜索
- 最新文章
- 热门文章
